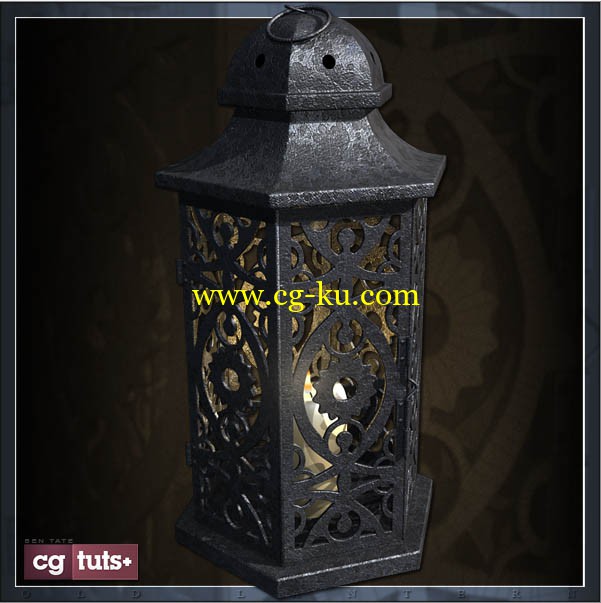
CgTuts+ Lantern 3DSMax Modeling Texturing Rendering
CgTuts+ 3ds Max 灯笼建模贴图渲染教程
3DS MAX作者本·泰特再次分享此独家3部分系列教程,涵盖所有参与创建'灯笼'的过程。在第一部分建模过程中,不仅传统的聚建模,还使用曲线加快您的工作流程,应对更复杂的几何体。让我们开始吧!
造型完成后,我们将用到UV贴图 - 所有这些都将在3ds Max内部完成,使用展开UVW修改工具,如拼合和Pelt映射。
最后,我们将到Photoshop中创建漫反射,凹凸和高光贴图。我们还将创建程序蜡烛火焰的材质,并敲定最终的渲染我们的场景。
3Ds Max author Ben Tate is back once again with this exclusive 3-part tutorial series covering all of the processes involved in creating ‘The Lantern’. In this first part, Ben walks us through the modelling process, taking a look at not only traditional poly-modelling, but also how we can use splines to speed up your workflow when tackling more complex geometry. Let’s get started!
In this tutorial we’ll go through the entire process of modelling, uvmapping, texturing, lighting and rendering an old lantern in 3d Studio Max. We’ll use poly modelling techniques for the majority of the model, but we’ll also take a look at how to use splines to create the more complex pieces.
With the modelling completed, we’ll move on to the UV mapping – all of which will be done inside of 3ds Max using the many tools contained in the Unwrap UVW modifier, such as Flatten and Pelt Mapping. We’ll also discuss tips and tricks for UV mapping sub-divided geometry. With the mapping completed, we’ll scale the uv islands to the correct proportions and clean up our objects.
Finally we’ll pack and finalize our UV’s into a single layout, before moving into Photoshop to create the Diffuse, Bump and Specular Maps. We’ll also create procedural materials for the candle and flame inside Max, and finalize our scene lighting for the final render.

发布日期: 2013-6-3