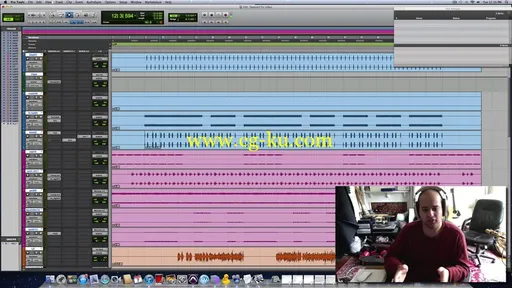
Matthew Weiss - Mixing Rap Vocals
WEBRip | English | MP4 | 1920 x 1080 | AVC~5265 kbps | 29.970 fps
AAC | 102 Kbps | 44.1 KHz | 2 channels | 01:20:17 | 2.95 GB
Genre: Video Tutorial / Sound Processing, DJing
Matt here. Thanks for checking out my tutorial on Mixing Rap Vocals. This is the same process I've used on many famous rappers, including Gift of Gab from Blackalicious, Speech from Arrested Development, Joell Ortiz, MURS, Dizzee Rascal, Wordsworth, Gorilla Zoe, and the list goes on.
I receive vocals that have been tracked in million dollar studios as well as make-shift home studios. The specifics of how to treat each rap vocal changes quite a bit. But the approach to the process is essentially the same. By following this approach and taking the time to master each step for a particular vocal recording, you will come out with stellar sounding rap vocal mixes.
Step 1: Cleanup
I think the biggest mistake people make when mixing rap vocals is that they go straight for trying to enhance the vocal and make it larger than the life. Unfortunately, if there's stuff in the rap vocal you don't want, that will become larger than life too! Before I start enhancement, I like to have a baseline for the vocal. Something that sounds evenly balanced frequency-wise and is free of weird resonances or sound build up.
The tools for this process are EQ (mainly), and occasionally a dynamic EQ such as a De-Esser. You would use an EQ to even out the tone. If you are hearing more treble than midrange, you might take down the treble. If you are hearing an odd amount of low-mids, find that, and remove a bit. If the whole vocal is just leaning toward the bass, or toward the treble — adjust accordingly. In the first part of the tutorial you will see that I do some smaller adjustments. In the second half of the video, on Munch Dogg's vocals, you see a much broader adjustment.
Use a De-Esser if a particular frequency is jumping out occasionally, but isn't consistently overbearing. This is fairly common for sibilant sounds like "s" and "t." However, sometimes the upper midrange/presence of the voice will jump at times. In this case you set a De-Esser to a lower frequency, 2k or 3k, to control that jumping.
Step 2: Dynamic Control
Rap Vocal performances are naturally dynamic. They change based on the artist's delivery and through natural inconsistencies in the human voice, as well as changes to proximity from the microphone.
There are two main tools for evening out the level of a performance: compression and volume automation. I don't cover volume automation in this series. Watching me go through a vocal and make manual adjustments to the volume would be tedious. But suffice to say, it's a transparent way of evening out vocals. I do cover compression, how to determine your attack and release settings and what to listen for. The key for this step is to leave as little of the compressor's sound on the vocal after you do it.
Step 3: Enhancement
This is the fun stuff. Here we get to use EQ and Compression again, but this time our goal is to leave an effect on the vocal, rather than be subtle.
EQ can be used to bring a sense of bigness and extra presence into the vocal, making it sound rich and very defined. We use compression to give the vocal a sense of being "in your face" — and in particular, I like to use a technique called "parallel compression." Parallel Compression involves making a copy of the vocal, compressing the snot out of it, and then blending that copy in underneath the main vocal. It's fun and creative.
Step 4: Ambience
Ambience in rap is an art of subtlety. Having a space around the vocal is important to give the voice depth. However, reverb tends to sink the vocal back in the stereo field.
For most rap vocals, I'll do a combination of delay and reverb. Delay is an echo. I'll time it to the rhythm of the song and turn it way down. Sometimes I may put a little reverb on the delay itself. Every rap vocal is different. For some vocals I might choose a more audible reverb simply because it fits the tone of the song.
The fun of ambience is that it's very subjective. There's many ways to do it and few that are "wrong". Sometimes not using any reverb or delay at all actually works very well.
The steps are simple, but the execution can be tricky. Once you start getting a feel for it though, it becomes much easier. In this tutorial I will take you through two vocals on two different songs, just so you can see how the specifics change, and provide some additional food for thought. You can also check out The Pro Audio Files for great articles on recording and mixing to expand your knowledge.
Content:
1. Introduction
2. Clean Up
3. Compression
4. Enhancement
5. Ambience
6. Complete Treatment
Bonus - Interview with Laura Zahn
Bonus - Vocal Cleanup Exercise
