Nevercenter CameraBag 2.x | MacOSX | 24.6 MB
Welcome to CameraBag, a modern, award-winning photo app with a fresh approach to editing your pictures. At the heart of CameraBag is our proprietary Analog Engine, which applies every adjustment you make using non-destructive 32-bits-per-component accuracy, all at blazing speeds. What that means for you is smoother tones and a more interactive workflow, no matter how many tweaks you make to your images (especially when working with RAW photos).
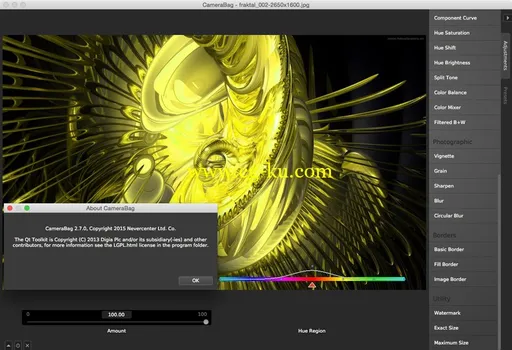
CameraBag’s innovative tile-based workflow lets you instantly see exactly what adjustments you’ve applied at any point, so you can easily tweak, re-order, layer, and nest them as needed. This workflow also lets you do things that are simply impossible in other photo editors, like layering multiple tone curves rather than trying to squeeze all levels adjustments into one complicated curve.
Start with CameraBag's large set of included filter presets, then go deeper by creating and sharing your own. You can even use any filter you make with CameraBag in our newest iPhone photo app, Fotograf.
Key Features
- Large set of built-in high-quality adjustable filters
- Full suite of photographic tools, including advanced curve editors
- Build your own entirely new filters from scratch or from existing filters
- Elegant, modern interface
- Innovative tools not found anywhere else, such as CameraBag's curve-based color corrector
- Fast image processing via the revolutionary Analog Engine
- 32-bits-per-component color depth
- Entirely non-destructive editing process
- Easy layering of filters and adjustments
- Quicklooks and previews for fast visual decision-making
- Large, precise controls - works great on a laptop
- Watermarking and custom image-based borders
- Batch processing
- RAW format support
10 Things to Try in CameraBag
1) Use the curve-based color corrector to perfectly pull the orange-yellow cast out of indoor nighttime photos.
2) Layer multiple tone curves, one for shadows, one for midtones, and one for highlights. Layer as many as you like without losing image quality.
3) When using one of the curve-based tools, turn down the amount slider to make your edits have a lessened effect, allowing you to make more precise adjustments.
4) Create or load a filter with several adjustments, then select all the filter tiles and nest them with the right-click menu. Now you can adjust the amount slider on the nested tile to ease the filter in and out to the perfect amount.
5) Select the Filtered B+W tool and slide the Filter Hue slider to see just how many different black and white images you can create from a single photo.
6) Create a filter that adds a watermark, then batch process a folder of photos with it.
7) Create a filter from scratch or modify one of the included filters. Now press the + button on your keyboard to name it whatever you want and save it as your own new preset.
8) Load a photo from a folder that has several photos taken at the same time under similar lighting. Find or create a filter you like, then press the left and right keyboard keys to cycle through the photos in that same folder to see them all with your filter applied.
9) Press the Quicklook button at the top of the Presets tab to see thumbnails of your photo filtered with every filter in your library.
10) Create a filter in CameraBag and then load it into Fotograf (separate purchase required) using iTunes file sharing. Now you can use that filter directly with your iPhone from inside Fotograf.

Compatibility: OS X 10.7 or later, 64-bit processor