密码: 4pby
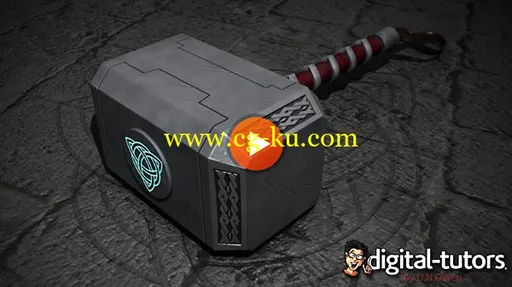
In this series of Maya and Mudbox tutorials, we'll talk about the process of working on an asset using multiple applications - in this case Maya, Mudbox, and Photoshop. We'll begin by using Maya's powerful modeling tools to create some base geometry for a Thor-inspired hammer. We'll learn to create a simple UV layout and then use those UVs to create a texture map that can help us add sculpted detail very quickly. Once we have our geometry set up in Mudbox, we'll look at ways of adding carved detail using sculpt layers. We'll also paint texture maps for our objects and learn to add new geometry to our project as it progresses. Once we're done, we'll bake out normal maps and combine them with existing bump maps. Finally, we'll transfer our project back out of Mudbox to Maya. This Maya and Mudbox training will go quickly, so if you're interested in more basic training in any of the applications used, I would recommend starting with the Introductions to the particular applications and move on from there.