Video: .MP4, 1280x720 | Audio: AAC, 44 kHz, 2ch | Duration: 2.5h
Genre: eLearning | Language: English | Size: 1,53 GB
Learn the art of creating elegant and flexible user interface for iOS applications using Autolayout
What you'll learn
In this course, students will learn how to create user interface by using Auto layout. This course teaches the students to create Auto layout constraints in the code as well in the Nib editor. Also, this course teaches other related techniques and concepts like Size Classes and Stacks views.
To create an elegant, beautiful and flexible interface for an iOS app and to create it reasonably fast, sufficient acquaintance with Auto layout is a must. Although there are at least a couple of other options available to create user interface in iOS, but they are too tedious and cumbersome to be viable and Auto layout is too convenient to be ignored. Today, Auto layout is the de facto technique to create the user interface for iOS apps.
And this course is all about Auto layout.
· It starts by explaining, with the help of an example, why Auto layout is needed in the first place.
· Then it explains the structure of an Auto layout constraint by exploring various properties of NSLayoutConstraint.
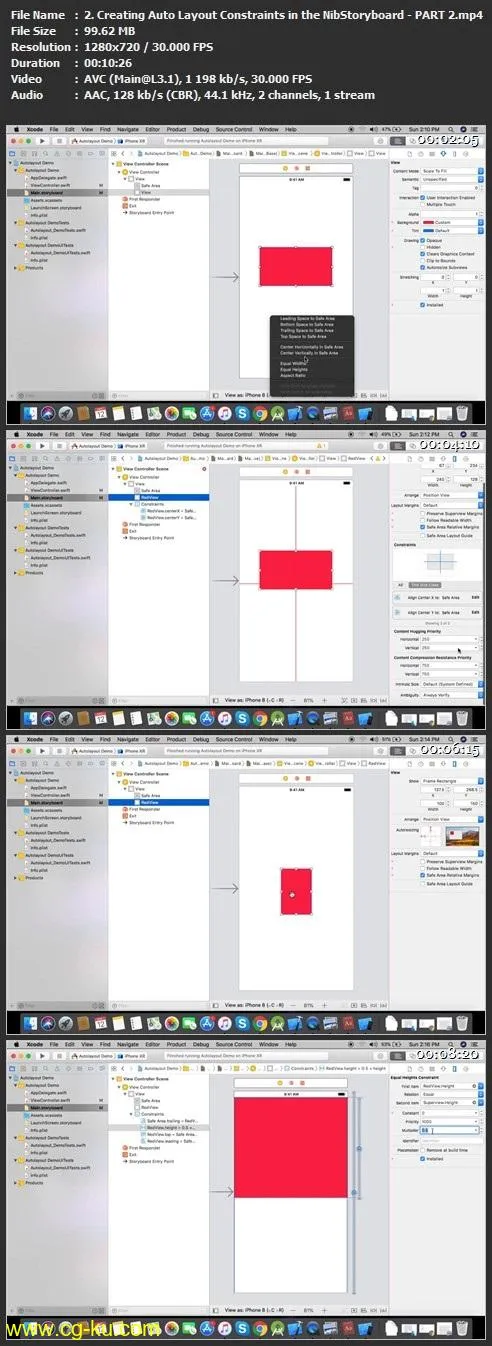
· After introducing the NSLayoutConstraint, this course teaches, with the help of numerous examples, how to create the Auto layout constraints in the Story Boards and Nib Editors. Different ways to create, edit and delete various kinds of Auto layout constraints in the Story Boards and Nib Editors, are taught in these videos.
· The course continues by explaining various kinds of mistakes encountered while creating the Auto layout constraints like insufficient constraints, contradictory constraints and a mismatch between a constraint and current size and/or position of a view’s frame in the canvas.
· After this, the concept of size classes is introduced and in this section the students will learn how to create the user interface for different screen sizes, orientations and devices using a single Story Board and/or Nib Editor file.
· In the next section, students will learn how to create the Auto layout constraints in the code. In this section, three ways to create the Auto layout constraints in the code are explored: 1) using NSLayoutConstraint initializer, 2) using Anchor notation and 3) using Visual Format Language (VFL). In each of these lectures, an interface is introduced at the beginning of the lecture and then it is constructed using one of these three techniques during the course of video.
· Finally, this course concludes with a BONUS introduction and explanation of Stack Views with the help of an example.
This course offers a comprehensive treatment of Auto layout and iOS user interface, yet it avoids excessive and unnecessary details, so as not to overwhelm the student. After completing this course the students will have sufficient understanding and knowledge of Auto layout to create an elegant and adaptable user interface for iOS apps and with reasonable pace. They will not only be able to create the Auto layout constraints in the Story Board, Nib Editor and code but they will also have sufficient familiarity with different elements of iOS user interface creation.
Who this course is for:
Beginner to mid-level iOS developers who want learn and improve their conceptual and practical knowledge about how to create user interface in iOS.
._Concise_&_Comprehensive_Guide.part1.rar.html
._Concise_&_Comprehensive_Guide.part2.rar.html
._Concise_&_Comprehensive_Guide.part3.rar.html


发布日期: 2019-07-04