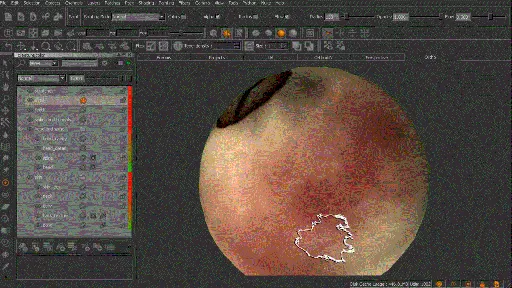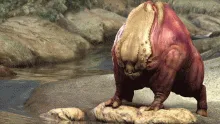
Mari纹理绘制教程 使用软件:MARI 2.5v2 时长:1小时59分 在很多艺术家心中都有个奇怪的观念——绘画和图像之间有一个明显的界线,在本教程中,我们将看到Mari在模糊绘画和图像之间这条分界线上的令人惊叹的功能。 首先我们为模型建立一个填充空白部分的底色,我们会学习如何建立、调整颜色层、选择适合的图像并在模型表面进行绘制。 很多时候,很多艺术家都在纠结于如何把照片纹理和手绘进行成功的融合,因此,我们将学习如何通过层、笔刷、调整栈甚至遮罩来完成这些有效的融合。 完成本教程后,你会学到一些很有价值的技巧和窍门,使照片和手绘纹理真正有机的融合在一起。
Combining Painted and Image-Based Textures in MARI | 1.3 GB
Software: MARI 2.5v2 | Video: AVC (.mp4) 960x540 30fps | Audio: AAC 48KHz 1ch | 1h 59m
Genre: eLearning | Intermediate | Project Files Included | February 11, 2014
For many artists, the idea of painting with images is a rather strange one. In their minds, paint is something that comes out of a tub and images come out of a camera. In this tutorial we will see that MARI does an amazing job at blurring the line between the two to create finished textures for 3D assets.
To get started we will first create an underpainting for our model. We’ll learn that this will help us to fill in the gaps in our textures while establishing an order of how we will layer in our color. From here we will learn how to pick appropriate images and paint them onto the surfaces of our model.

Often times, where many artists struggle is trying to successfully blend their photographic textures with hand painted ones. With that said, the rest of this training will be focused on just that. We will learn how layers, brush properties, adjustment stacks and even masks can help us to accomplish this.
After finishing this tutorial, you will have learned some really valuable tips and tricks for putting photos right next to your hand-painted textures and making it look like they belong together.
发布日期: 2014-02-14