fxphd - NUK226 - Painting & Reconstruction Techniques with NUKE X
WEB-Rip | MP4 | AVC1 @ 500 Kbit/s | 1440x900 | AAC Stereo @ 128 Kbit/s 48 KHz | 8 Hours | 9.13 GB
Genre: NUKE X | Language: English | Project Files Included
Removals and digital matte painting fundamentals are essential skills for a compositor, but mastering these techniques requires a high level of technical understanding in order to facilitate the work, increase the speed and improve the results. Professor Victor Perez has designed this course to show you the hard craft of painting and removing elements from a shot in a simple still technically advanced way.
All tracking and geometry generation are done using just NUKE tools, no 3rd party software involved. Exploring the new features available in NUKEX 8 and MARI the course provides a real case scenario where the students will have the opportunity to perform professional massive removals applying the contents of every class. Because, of course, everybody can remove a microphone tip or a rig on-screen but, Can you remove all the people from the overcrowded streets of Mexico? We are talking now.
Subjects to cover in the course:
NUKEX 8 Camera Tracker: Camera Tracking vs Object Tracking
Lens Distortion, Vignette and Grain Workflows
Python optimisations for 3D Projections setups
Rig Removal: 3D Projection vs 2D Patch
The UV Painting Workflow for Orthogonal View of a Perspective Plane
Live Painting vs Frozen Patch
Script Optimisation
Building Basic Geometry for 3D Projections: ModelBuilder and PointCloudGenerator nodes
in-depth
The NUKE <>MARI Bridge
MARI and The Projection Painting Workflow
Case Study: “Emptying the Streets of Mexico”
class syllabus
Class 1: Tracking and Lens Distortion methods overview - In our first class we review all tracking options inside Nuke X 8: 2D, 2.5D and 3D. When to use each of them, pros and cons. We explain the Camera Tracker technology to understand where it can be used for better results. We also demystify the principle of Parallax and explore all methodologies available to un-distort and re-distort using the Lens Distortion node and how to export a Lens Distortion Displacement Map.
Class 2: Testing the scene with cones. Camera tracking (II): from from still images. The 3D way. Geometry generation: placing cards, generating a dense point cloud, poisson mesh.
Class 3: Applying painting and reconstructing the image using the temporal offset reveal. We continue working with the footage from The Last Chick in order to finish the removal of the crowds in a big avenue in Mexico city. We talk about the clean frame, coverage canvas, boundary box, coverage map, reveal vs clone painting, smudge using stroke fusion modes, alignment tools, concatenation on linear transformations, bbox consistency, clean patch, match move, f_regrain and bbox optimization.
Class 4: Camera Projection Fundamentals I: In the forth class we prepare our scene for camera projections using Nuke 3D space. We talk about the components of the camera projection setup, how to test the camera using the point cloud and basic geometry (cones), generate assets from the feature points in the CameraTracker node (axis), Python scripting to perform several value changes in knobs with two fast and simple lines of command, script optimizations, overscan, ScanlineRender setup, lens distortion and the 3d workflow.

Class 5: Camera Projection Fundamentals II: In the fifth class we start generating and projecting patches to clean features on flat surfaces of the original plate. We talk about generating projections using the data from the CameraTracker node, we explore the Project3D node and the differences with the UVProject node, how to create all assets necessary for the 3D projection setup: the projector, discussing 3 different methodologies to create a camera projector, including managing customised user knobs and scripting standards to easily recognise a projector; the patch projection including a step of clone-painting; and the generation and alignment of projectable geometry.
Class 6: Camera Projection Fundamentals III - In the sixth class we continue and finish generating and projecting patches to clean features on flat surfaces of the original plate using the mail box case study. We talk about generating projections using a standalone camera from a 3rd party software, triangulating single points in the 2D coordinates to locate its 3D position, using cones to manually align primitives as projection surfaces, how to generate a point cloud to either referencing the space and volumes or generate projectable geometry baking points into meshes and using the poisson mesh, automatic alignment (snapping) of geometries, how to use the ModelBuilder node to generate volumes and align surfaces, and the orthogonal painting method to remove perspective issues from the painting workflow.
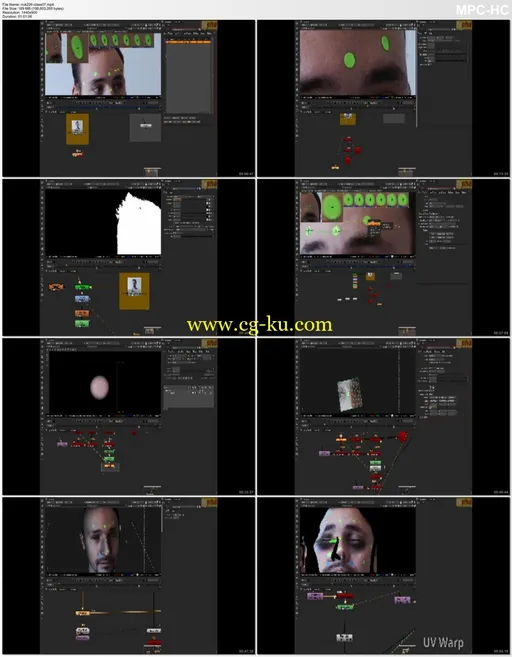
Class 7: Object Tracking - Facial Marker Removal - In the seventh class we capture the movement and the volume of a man's head in order to perform a marker removal and digital makeup. We talk about the differences between camera tracking and object tracking, tracking features occluded in certain frame ranges, 3D tracking using just User Tracks, import Tracker node tracking points into the CameraTracker node as User Features, absolute vs relative keyframes paste, live vs baked projections, live painting, procedural masking, procedural generation of projectable geometry and the UV problem, rebuilding projectable volumes with cards, UV unwrap for marker removal from cards, live projection for marker removal using RotoPaint and Roto nodes clone utility, digital makeup, the mask channel, strokes matte, custom difference matte.
Class 8: Python customizations to auto-generate projection setups; the issue of Vignetting - In the eighth class we prepare a basic Python script to generate a camera projection setup, including the generation of the nodes, the customization of them and the connection of the inputs, we learn basic Python applied to Nuke as get values from knobs or set them, print values, get the current frame into a FrameHold node and other functions to increase the speed and efficiency of projection and patching task. In the last part of the class we study how to add the vignette effect to a patch in order to reproduce the actual vignette index of the plate.
Class 9: Coverage and Environmental Maps - In the ninth class we convert the area of visibility of the camera into a 2D Lat Long Map to project a custom made sky replacement, so we discuss the relative X and Y coordinates of a spherical transformation as latitude and longitude coordinate system in relation to the frustum of the camera, the SphericalTransform node, the cubical camera setup to capture the 3D word into a 2D image, how to merge a sequence of frames to get the maximum coverage area, the minimum resolution estimation for a digital matte painting applied as an environmental map, map bleeding and re-wrap.
Class 10: The Mari<>Nuke Bridge - Projection Painting - In the tenth class incorporate Mari to our painting workflow from Nuke. We learn how to install the Bridge to send information from Nuke to Mari and viceversa, to customise it using Python scripts, depending on the version of the software and the OS we are using; we talk about projection components and the difference between sending and exporting, single and sequenced projections, using LUTs from Nuke in Mari; a quick start minimum fundamentals about painting in Mari, using layers and channels, image navigation, brushes and common tools such as the cloning and the basic brush, the mask stack to apply “alpha” masking to layers. We define the Paint Buffer and the logic of projection painting (and baking); and once we have our texture painted we send it back to Nuke in different ways: projections and UVs. We also have a quick look at the 3D rotoscoping.
发布日期: 2014-06-21