Lynda - Digital Painting: Street Scene
MP4 | AVC 599kbps | English | 960x540 | 15fps | 4 hours | AAC stereo 128kbps | 2.04 GB
Genre: Video Training
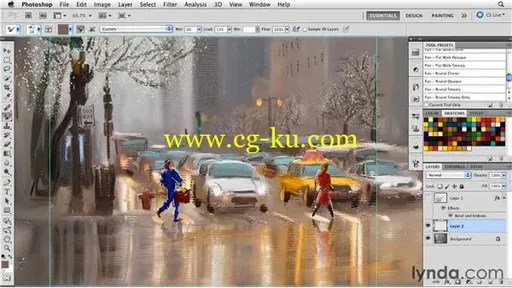
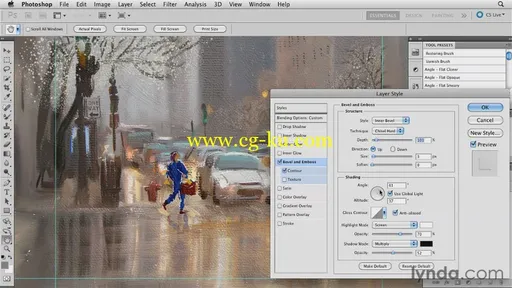
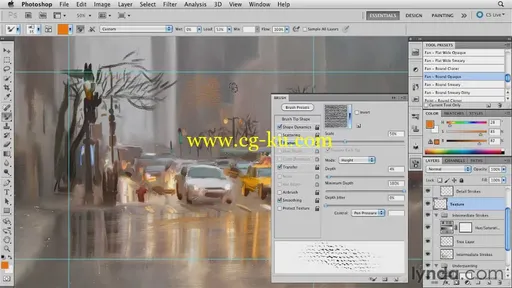
Learn to think like a painter and render images from photographs that look like they were created with oils or acrylics, using the latest digital artist's tools. Author and artist John Derry introduces the process of interpreting a photograph into a painted work of art. He begins by explaining his system of visual vocabularies, which describe how to replace the elements of an image with expressive painterly qualities, and also shares the custom brush sets and actions he uses to achieve these results in Photoshop. The course also covers working with filters, layers, effects, and more to add further detail and texture.
Introduction
Welcome
Using the exercise files
Installing custom brushes
1. Photographic Reality vs. Expressive Interpretation
Understanding the visual vocabulary
Using the vocabulary of photography
Using the vocabulary of painting
Looking at reality through a mental painting filter
2. Image Preparation: The Source Photograph
Understanding that resolution is in the brush strokes
Understanding the subject

3. Image Preparation: Lens Distortion Removal
Removing lens distortions
Using the Free Transform tool
Using the Lens Correction filter
Understanding the ACR lens correction profiles
4. Image Preparation: Photographic Color vs. Pigment Color
Working with Vibrance
Using the Match Color command
Understanding the traditional paint color swatch set
5. Image Preparation: Tonal Modification
The eye has a bettor sensor than a camera
Using the Shadow/Highlight filter
Using the HDR Toning filter
Understanding how RAW files provide malleability
6. Image Preparation: Detail Simplification
Working with the Reduce Noise filter
Working with the Surface Blur filter
Using Smart Blur for simplification
Working with the Topaz Simplify plug-in
7. Non-Destructive Layer Painting
NDLP: A creative safety net
Using custom actions
Using the reference layer
Cloning layers
Working with the Hue/Saturation adjustment layer
8. Brushes
Brush categorization
Working with canvas texture
Using Sample All Layers
9. Expressive Interpretation: Underpainting
Being willing to destroy detail
Establishing the painting style
10. Expressive Interpretation: Intermediate Layer
Simplified indication
Understanding color
Introducing texture
11. Expressive Interpretation: Detail Layer
Providing rest areas for the eye
Focusing on the subject through detail
12. Expressive Interpretation: Non-Photographic Addition
Being willing to depart from the original
Creating detail to enhance the artwork
Creating physical surface texture effects
13. Expressive Interpretation: Final Refinements
Waiting a day
Examining your importance hierarchy
Conclusion

发布日期: 2015-07-31