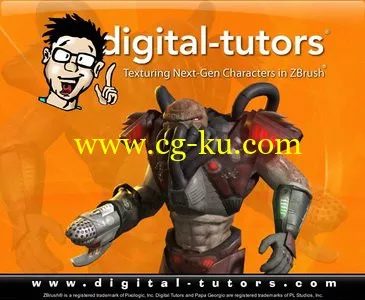
Texturing Next-Gen Characters in ZBrush + Project Files
2xDVDRip | MOV | 788x648 | English MP3 @ 176 Kbps | 04:15:31 | 955 Mb
Genre: eLearning
Learn a production workflow and time-saving methods for creating game-ready textured characters, texture painting techniques, and adding character enhancements for appeal. Contains over 4 hours of project-based training for artists learning the creative processes of texturing characters for next-generation games. Popular highlights include: Setting up base materials in ZBrush; Filling Subtools with Color; Painting Illuminated Panels; Painting with Symmetry; Isolating Portions of Subtools; Working with Polygroups; Cavity Masks to Emphasize Detail; Painting Wear into Armor; Adding Color Variation; Layering Color and Detail for Skin; Blending Textural Detail with Alphas; PolyPainting Techniques; Photoshop Integration with ZApplink; Cloning Photographic Detail; Painting Scarring and Decay; Converting PolyPaint Colors to Texture Maps; Painting with Projection Master; Using Cavity Maps as Texture Guides; Editing Textures in Photoshop; Assembling Textures in Photoshop; Painting Specular Maps in ZBrush.
Table of Contents:
Project overview and workflow discussion 06:07
Using paint-overs to work out color schemes 06:34
Setting up materials in ZBrush 05:32
Applying base colors to subtools 09:55
Blocking in colors for the flesh 12:30
Adding underlying color and texture to the flesh 14:09
Adding spot detail with alphas 13:01
Blending skin detail together 12:41
Finishing the skin 07:38
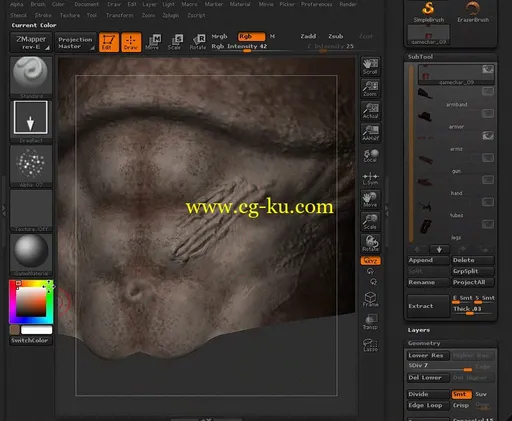
Painting the scarring on the arm and abs 12:02
Painting the leg base 08:01
Painting the raised armor panels 08:28
Using cavity masking to emphasize detail 06:22
Painting recessed areas 10:12
Painting the tubes 09:48
Painting the gun 13:22
Adding wear and tear to the armor pieces 09:46
Adding blast marks and damage to the armor 07:42
Painting illuminated panels into the armor 09:46
Using the ZProject brush to clone detail from photographs 07:14
Converting poly-paint colors to texture maps 07:34
Using Projection Master to paint detail 05:21
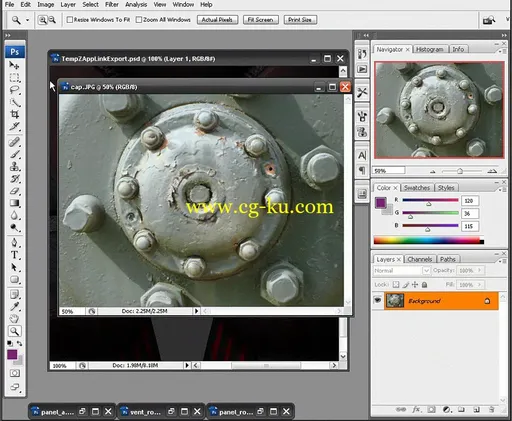
Using ZApplink to connect to Photoshop 11:27
Painting textures in Photoshop 09:12
Assembling and saving out textures in Photoshop 05:07
Rendering textures and normal maps in mental ray 05:28
Painting a specular map in ZBrush 13:06
Bonus Lesson: Using cavity maps as painting guides in Photoshop 05:27


发布日期: 2015-12-21