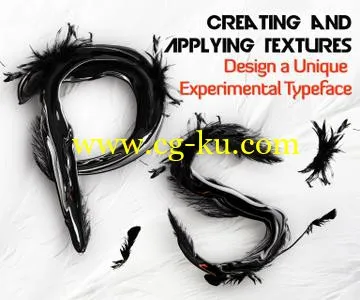
Creating and Applying Textures: Design a Unique Experimental Typeface
MP4 | Video: AVC 1280x720 | Audio: AAC 44KHz 2ch | Duration: 24M | 453 MB
Genre: eLearning | Language: English
Creating and applying textures is a great way of making something unexpected, mixing different things together and creating experimental typefaces with vibrant personalities.
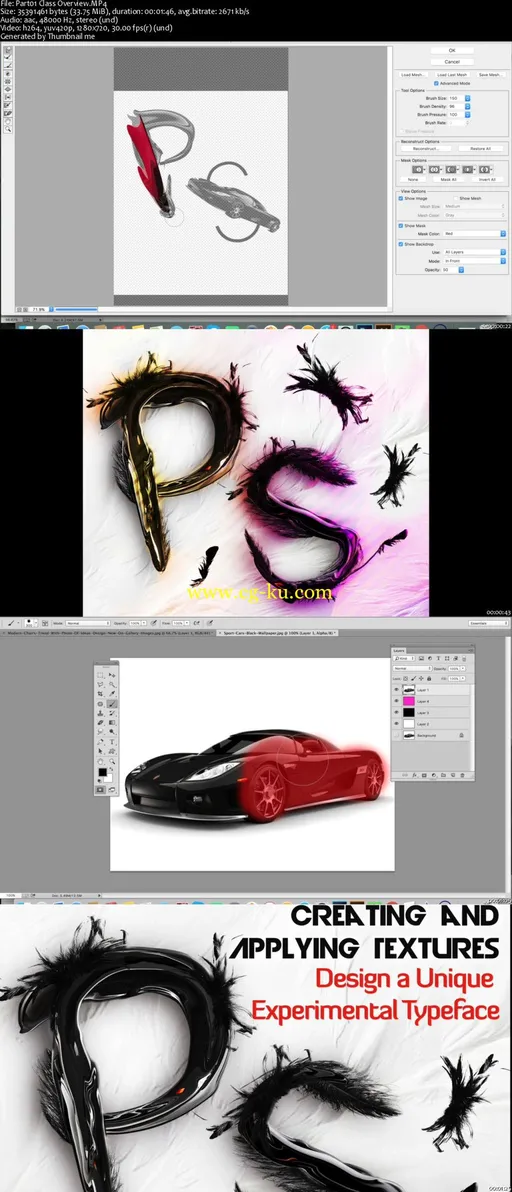
In this class, I am going to show you how to transform simple stock images into textures with the Liquify filter in Photoshop and apply them to a simple frame to create an amazing type face.
The technique I will demonstrate here is an easy and quick way of making complex and impressive visuals with a sculptural look and feel.
I will take you through the whole process step by step so you can get the exact same finished effect.
I will share with you what type of images to source for the project and will go through my own way of working with the Liquify filter to create textures in a few minutes in Photoshop.
If you want to quickly generate striking visuals and have none to very limited knowledge of Photoshop or if you want to discover how to use the Liquify filter creatively, this project is for you.
Enrol in this class and start making silky, hairy or spooky typefaces for personal use or any professional projects. You can even take a step further and sell your designs as posters, prints on t-shirts or anything else along the lines.
I am looking forward to see what you can do with this technique!
In this class you will learn:
What type of images to source; selecting the correct range of shapes and textures
What kind of font to use as a frame to apply the textures
A comprehensive range of techniques for selecting objects quickly and cutting out backgrounds in Photoshop
How to use the Liquify filter tool in Photoshop to create fabulous textures
How apply and arrange the textures to reach the desired effect
What to know before exporting for print or for web

发布日期: 2016-08-15