Lightroom 4 In-Depth - Developing and Editing Your Photos
WEBRip | FLV | English | 852 x 480 | AVC ~1200 kbps | 29.970 fps
AAC | 125 Kbps | 44.1 KHz | 2 channels | 02:53:17 | 878 MB
Genre: eLearning Video / Photographing, Adobe Photoshop
Adobe Photoshop Lightroom 4 is the key to what industry experts are calling the new digital workflow. Now you can learn exactly how to get started, and see how it can help you achieve the quickest, easiest workflow imaginable! Matt Kloskowski, NAPP Education and Curriculum Developer and host of the popular Lightroom Killer Tips podcast, walks you through the entire process and shows you how to get the best possible images in record time. In this course, Matt dives into the entire Develop module and how what you do here makes all the difference in the world.
You’re going to learn about all of the brand new sliders in Lightroom 4, which will, hands down without a doubt, make your photos look better than any other version of Lightroom. You’ll see which tools to use when, which ones to avoid, and how to unleash the power of Lightroom’s Adjustment Brush for selective adjustments in your workflow. You’ll see exactly what to do, and in what order, to work as efficiently as possible so editing your photos is not only fun, but fast as well.
Content:
Introduction (01:10)
Join Matt for a quick introduction to the material that will be covered in this class.
The Only Difference Between Raw and JPEG (02:48)
Find out some of the minor differences in the options available for processing raw and JPG files inside Lightroom.
The Process Version (02:54)
Learn about the role of the process version and which one you should choose for working with your photos in Lightroom 4.
The Basics - Camera Profiles (04:56)
Matt shows you why choosing the camera profile in the Camera Calibration panel can be one of the most important things to do first in your workflow (plus a cool tip on Solo Mode).
The Basics - Cropping (05:29)
Cropping can be useful for removing unwanted elements from the edges of your photo, creating a tighter composition, and changing the aspect ratio of your photo (or all of the above).
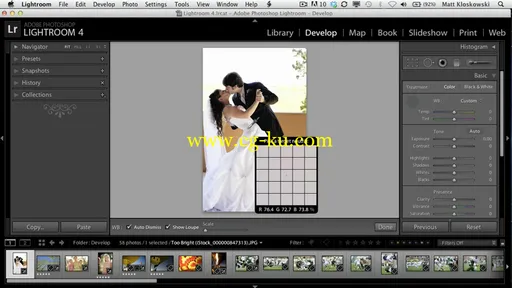
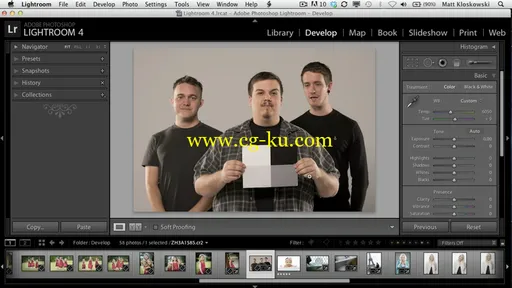
The Basics - White Balance (07:40)
Lightroom gives you multiple ways to set and adjust the white balance of your photos.
The Basics - The Tonal Adjustment Controls (06:54)
Before you start making tonal adjustments on your photos, you need to understand how each slider in the center of Basic panel affects the various tonal values in a photo.
The Basics - Shadows and Highlights (03:17)
One of the goals of the new Process Version 2012 was to give us more access to the details contained in the highlights and shadows regions of our photos. Learn how you can recover this detail with minimal impact on other tonal regions.
The Basics - Setting the White and Black Points (07:35)
The Whites and Blacks sliders provide a fine level of control over the white and black clipping points.
The Basics - Clarity (06:46)
The Clarity slider increases (or decreases) the amount of midtone contrast added to your photo. You can think of it as a bit of a detail enhancer adjustment when used in positive amounts or detail softener when used in negative amounts.
The Basics - The difference between Saturation and Vibrance (04:18)
Vibrance and Saturation are powerful color enhancing adjustments that work very differently. Understanding the key differences will help you know when to use each adjustment correctly.
Before/After: Portraits (03:52)
Increase your understanding of the basic workflow as Matt steps through the process of making adjustments on a couple of portrait photos.
Before/After: Landscape (03:33)
Increase your understanding of the basic workflow as Matt steps through the process of making adjustments on a landscape photo.
Before/After: Travel (03:58)
Increase your understanding of the basic workflow as Matt steps through the process of making adjustments on a travel photo.
Before/After: Sports (02:24)
Increase your understanding of the basic workflow as Matt steps through the process of making adjustments on a sports photo.
Making batch changes (05:29)
Lightroom can increase your efficiency when working with large (and small) batches of photos shot under the same conditions. Learn how to synchronize settings across a range of photos.
The Tone Curve (mention RGB is new) (03:53)
The Tone Curve is another way to adjust the amount of contrast in your photo, but with a very fine level of control over which tonal values are affected. Learn the differences between the Point Curve and Parametric Curve modes.
HSL - Adjusting Specific Colors (03:21)
HSL stands for Hue, Saturation, and Luminance. Learn how to use these sliders to make large and small adjustments to specific colors in your photos.
History and Undos (03:00)
Thanks to the power of the Lightroom catalog all of the work you do in the Develop module is recorded and saved in the History panel. This gives you the ability to step back through the history of adjustments to an earlier state or even all the way back to the start.
Snapshots (02:41)
The Snapshots panel can be used to preserve particular states in the way you process a photo. This can be used to save multiple different versions of how you might process a photo, and give you a quick means to switch between those different states.
Comparing the Before and After (03:05)
Comparing the before and after versions of your photo is a powerful way to see the affects of the adjustments you are making in your workflow. Lightroom provides you with a number of different before and after views.
Creative Settings - Black and Whites (03:30)
There are a couple of ways to change your photo to black and white, but Matt shows you the best method for maximum control in the conversion process.
Creative Settings - Split Toning (03:39)
The Split Toning panel allows you to add a tint to your highlights, shadows, or both. This is most commonly used with black and white photos, but can be used with color photos too.
Creative Settings - Virtual Copies (04:49)
A virtual copy is a way to create an additional set of instructions for processing the same original photo in a different way without actually duplicating the photo on your drive.
Creative Settings - Vignettes and Grain (05:37)
The Effects panel allows you to add creative vignettes and grain in your photos as a finishing touch.
Detail Settings - Sharpening (05:31)
Capture sharpening is intended to compensate for the inherent softness in raw captures. You can get fine control over how sharpening is applied via the Detail panel.
Detail Settings - Noise Reduction (06:03)
Noise is the enemy of digital capture, and Lightroom has a great tool for reducing color and luminance noise with minimal impact on important detail.
Lens Corrections (05:48)
Profile based lens corrections appeared in Lightroom 3 and continue to evolve in Lightroom 4. Learn about the differences between the automatic and manual controls.
Calibration (03:42)
Beyond the camera profiles and process version the Camera Calibration panel contains sliders for correcting colors rendered by the camera.
Creating and Using Presets (07:10)
A preset is basically a recipe for one-click developing of your photos. Learn how to create and apply your own.
Removing Sensor Spots (05:14)
Lightroom's Spot Removal Tool is primarily intended for seamless removal of sensor spots in your photos. The tool itself is easy to use, but Matt also has some great tips for finding all the spots hiding in the sky areas of your photos.
Removing Red Eye (01:18)
The glow of red eye in your photographs is a sure sign of on-camera flash, but Lightroom makes it a snap to turn those red pupils black.
Enhancing Skies with the Graduated Filter (08:59)
The Graduated Filter Tool allows you to apply a set of adjustments to a specific area of your photo (such as a sky) with a gradual fade to blend the effect into the surrounding area.
Adjustment Brush - The Basics (08:56)
The Adjustment Brush is the best way to apply localized adjustments to just the areas of your photos you want to affect. Learn the basics of how to use one of the most powerful tools inside of Lightroom.
Adjustment Brush- Getting Creative (07:14)
Learn how to go beyond corrections with a cool creative use for the Adjustment Brush.
Adjustment Brush - Retouching Portraits (07:22)
The Adjustment Brush can even help out with basic skin retouching and possibly save you a trip to Photoshop.


发布日期: 2016-11-20