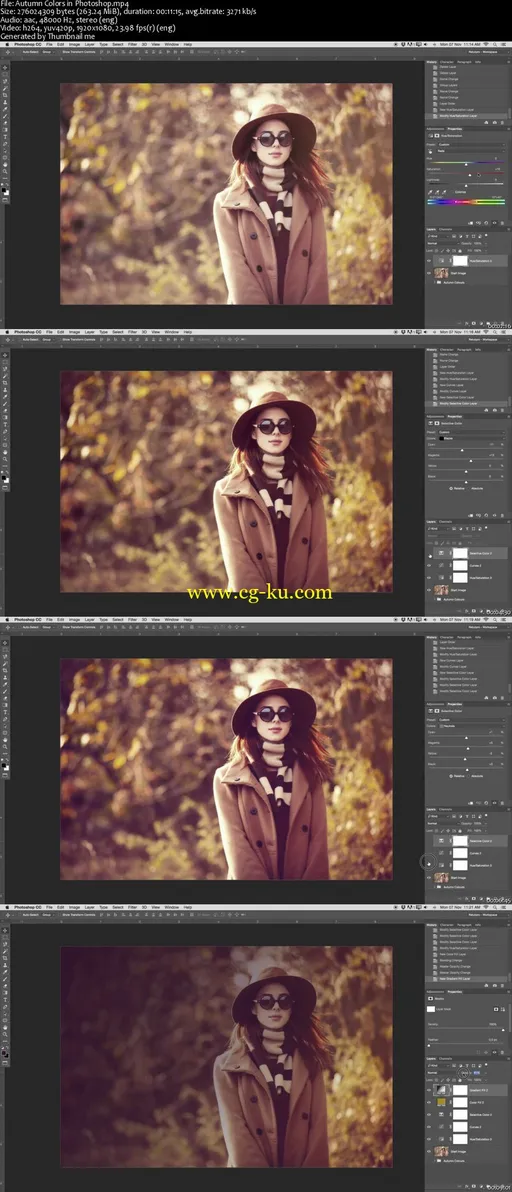
How to Create Autumn Tones In Photoshop
MP4 | Video: AVC 1280x720 | Audio: AAC 44KHz 2ch | Duration: 11M | 263 MB
Genre: eLearning | Language: English
In this tutorial, I'll be looking at applying Autumn Tones to an image in Photoshop. My image lacks some colour, so the first thing I do is to add a Hue and Saturation Layer. I move out of the Master Tones and select the Red Tones. I only use the Saturation and push it slightly. I do the same in the yellow tones, but I push it a bit more than the red. NOTE: You can always fall back to your adjustment layers and change it.
Next, I apply a Curves Adjustment Layer where I make subtle adjustments with a big impact. I increase the contrast and then flatten the blacks. Next up I apply a Selective Colour Adjustment Layer. I immediately jump into the Black Colour Tones where I adjust our warm tones and fade the blacks a tiny bit more. I then move over to the neutral tones. Here I also tweak my colours and push the blacks a bit as well.
One of my final adjustments is adding a yellow colour cast. I've already selected a certain colour, one which you can copy here, under Solid Colour Layer. I then change the blending option to Colour and then change the opacity to just below 20%. I then add a Gradient adjustment tool and choose a darker tone within the image. You can choose to either use the Gradient Adjustment Layer or not.

发布日期: 2016-12-12