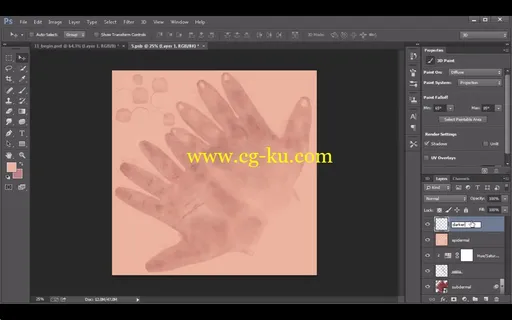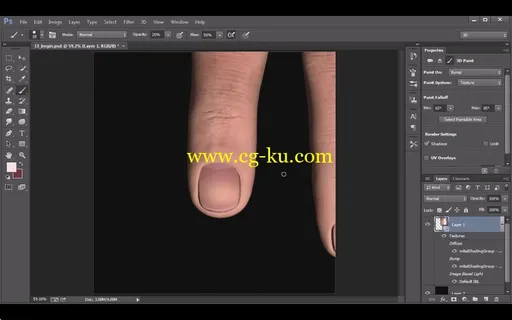
本视频教程是由Dixxl Tuxxs机构出品的Photoshop逼真三维手皮肤纹理制作视频教程,Dixxl Tuxxs Painting Realistic 3D Skin Textures in Photoshop Hands,时长:3小时2分,大小:2.98 GB,MP4高清视频格式,附工程源文件,教程使用软件:Photoshop CC 14.1,共15个章节,作者:Eddie Russell,官方发布日期:2013年11月,语言:英语。
Eddie Russell - Painting Realistic 3D Skin Textures in Photoshop: Hands | 2.98GB
Duration: 3h 2m | Video: AVC 1440x900 (16:10) 30fps 1269kbps | Audio: AAC 44.1kHz stereo 225kbps
Genre: eLearning | Level: Intermediate | Language: English

Hand painting realistic skin textures is a topic that many artists shy away from. So much so that the first thing they reach for are photographs to project onto their model.
While many times this is a viable solution, hand painting these textures is really very simple if you know where to begin. This tutorial covers the process of painting realistic skin textures for a hand asset starting from the inside and working out.
We will begin by focusing on the bump map for our hand which will allow us to add additional surface details that may influence our diffuse textures. From here, we will get started painting a subdermal and epidermal layers of tissue. After finishing off the diffuse color, we will then create a specular map that will control how highlights react to the various surfaces of our skin. While painting all three maps, we will learn how to fully utilize Photoshops 3D toolset as part of our texturing process.
After completing this training, you will have learned a workflow that will allow you to paint realistic looking skin texture on the hands of your models.

Content
1. Introduction and project overview 01:21
2. Setting up our Photoshop file 12:52
3. Beginning the bump map for our hand 11:11
4. Adding tiny cracks to the surface of our hand 10:49
5. Adding directional wrinkles and creases to the bump map 10:53
6. Adding fingerprints to the bump map 09:49
7. Painting a subdermal base 13:36
8. Detailing the subdermal base 11:49
9. Beginning to reveal the subdermal base 10:40
10. Revealing the subdermal base around the fingers 12:07
11. Detailing the epidermal layer of skin 12:22
12. Painting the diffuse for the fingernails 12:42
13. Painting the bump for the fingernails 07:46
14. Setting up a specular map 12:20
15. Final edits and saving maps 09:59
发布日期: 2013-11-01