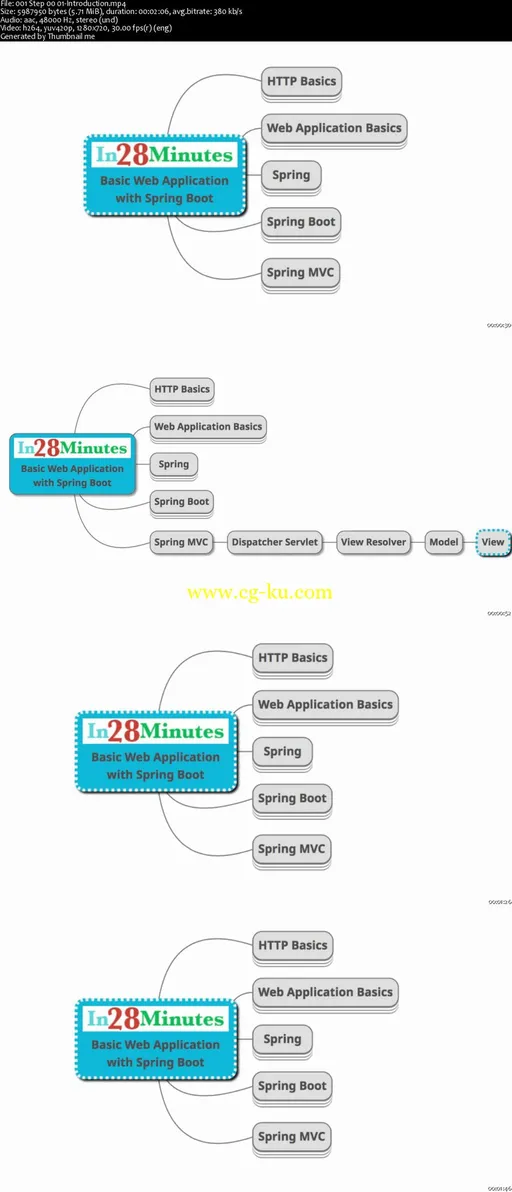
First Web Application with Spring Boot
MP4 | Video: AVC 1280x720 | Audio: AAC 44KHz 2ch | Duration: 4 Hours | Lec: 32 | 711 MB
Genre: eLearning | Language: English
Develop your first Java web application with Spring Boot in 25 easy steps
Developing your first Spring Boot Web Application is fun.
Spring Boot makes it easy to create stand-alone, production-grade Spring based Applications that you can “just run”. We take an opinionated view of the Spring platform and third-party libraries so you can get started with minimum fuss. Most Spring Boot applications need very little Spring configuration.
In this course, you will learn the basics developing a Basic Todo Management Application using Spring Boot with Login and Logout functionalities.
You will build the website step by step - in more than 25 steps. This course would be a perfect first step as an introduction to Java Web Application Development.
You will be using Spring (Dependency Management), Spring MVC, Spring Boot, Spring Security (Authentication and Authorization), BootStrap (Styling Pages), Maven (dependencies management), Eclipse (IDE) and Tomcat Embedded Web Server. We will help you set up each one of these.
You will learn about
Basics of Spring Boot
Basics of Autoconfiguration and Spring Boot Magic
DispatcherServlet
Basic Todo Management Application with Login/Logout
Model, Controllers, ViewResolver and Filters
Forms - DataBinding, Validation
###li
Bootstrap to style the page
Spring Security
Exception Handling
Step wise details
Step 01: Basic Spring Boot Web Application Setup
Step 02: First Spring MVC Controller, @ResponseBody, @Controller
Step 03: Demystifying some of the Spring Boot magic
Step 04: Redirect to Login JSP - LoginController, @ResponseBody and View Resolver
Step 05: Show userid and password on the welcome page - ModelMap and @RequestParam
Step 06: DispatcherServlet and Spring MVC Flow
Step 07: Your First HTML form
Step 08: Add hard-coded validation of userid and password
Step 09: Magic of Spring
Step 10: Create TodoController and list-todos view. Make TodoService a @Service and inject it.
Step 11: Architecture of Web Applications
Step 12: Session vs Model vs Request - @SessionAttributes
Step 13: Add new todo
Step 14: Display Todos in a table using JSTL Tags
Step 15: Bootstrap for Page Formatting using webjars
Step 16: Let's delete a Todo
Step 17: Format Add Todo Page and Adding Basic HTML5 form validation
Step 18: Introduce JSR 349 Validations using Hibernate Validator - First Command Bean.
Step 19: Updating a todo
Step 20: Let's add a Target Date for Todo - Use initBinder to Handle Date Fields
Step 21: JSP Fragments and Navigation Bar
Step 22: Preparing for Spring Security
Step 23: Initial Spring Security Setup
Step 24: Refactor and add Logout Functionality using Spring Security
Step 25: Exception Handling
NOTE:
We do NOT interact with a Database in this Beginner’s Course.
We will be building a traditional JSP based web application in this course.

发布日期: 2017-07-07