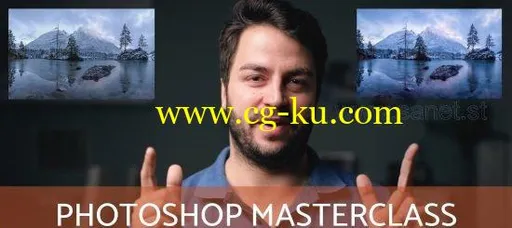
Video: .MP4, 1856×1160, 30 fps | Audio: AAC, 48 kHz, 2ch | Duration: 2h 26mGenre: eLearning | Language: English | Size: 2.97 GBIn this class you will learn all the Photoshop techniques you need to bump your own images to the next level.
I will show you in seven different chapters how I edit one of my favourite images from start to finish.
I think its really helpful to see which techniques are used to process a file from the beginning to the end.
All the steps can be used to imrove your landscape photography.
Video No. 1:Here I will show you how I prepare my RAW files in Adobe Lightroom for furter Adjustments in Adobe Photoshop.
Video No. 2:In this chapter you will learn how I use Adobe Photoshop to create one big panoramic image out of six RAW files and how I further enhance the perspective using the warp tool.
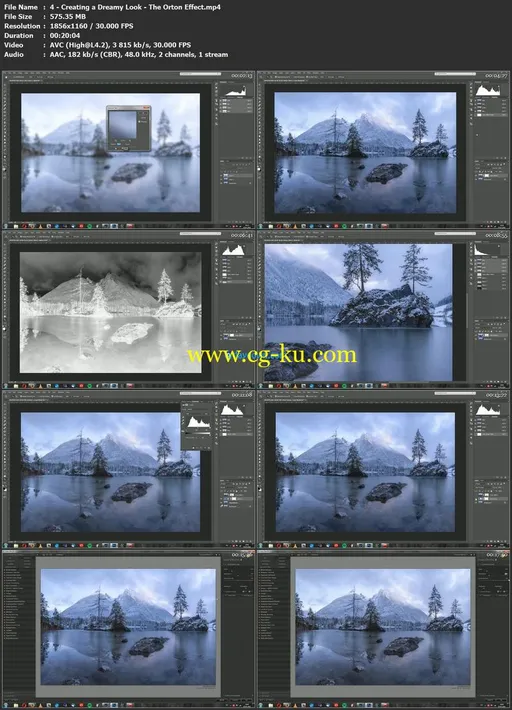
Video No. 3:Did you ever wonder why some images have this special look which makes them “glow”? In this chapter you will learn three ways how to create a dreamy and moody look on your photos using the Orton Effect.
Video No. 4:Here I will show you how to enhance details in your image and how to use the Nik Collection to improve contrast and colors.
Video No. 5:In this chapter you will learn my advanced steps to imrove contrast using luminosity masks.
I will show you how to create those masks and how to work locally on your images.
Video No. 6:Color is one of the most important parts of an image and thats the reason why I dedicated to spend a whole chapter in this tutorial.
You will learn everything about color contrast and how you make local color adjustments.
Video No. 7:In this final video you will my special web sharpening technique so your images look the best in any web browser for your audience worldwide.

