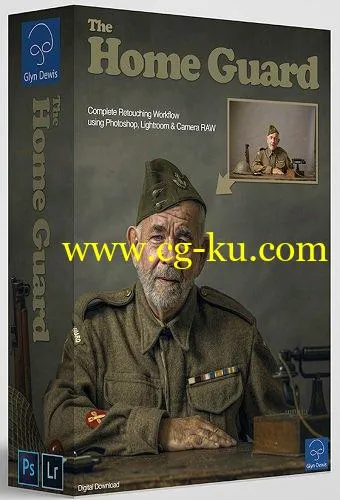
Glyn Dewis – HomeguardInfo:Go Step by Step through the entire workflow and techniques covered in this Home Guard Portrait starting off in Lightroom / Camera RAW and then into Photoshop taking the out of camera image file through to the final print ready picture.
Learn the lighting technique, enhancing details, portrait retouching techniques, how to create a fake textured canvas background, how to add depth and dimension and much, much more…Video 1: Introduction and Lighting Set UpNote:Lighting Equipment Used:Elinchrom ELC Pro HD 1000Elinchrom Rotalux 135cm OctaGrey Seamless Paper RollVideo 2: RAW ConversionVideo 3: Cleaning Up the ImageVideo 4: Enhancing Eyes (Brighten, Boost Colour and Sharpen)Video 5: Dodging and Burning (Non-Destructive)Video 6: Adding Texture to create a fake textured canvas backgroundVideo 7: Topaz Clarity and Creating ActionsNote:Not using Photoshop CC? Check out the Details video in the EXTRAS folderVideo 8: Adding Mood and Atmosphere with Colour using Look Up Table Adjustment LayersNote:Not using Photoshop CC? Check out the CFX Pro 4 video in the EXTRAS folderLink:Check out this video on my YouTube for more information about Look Up Tables CLICK HEREVideo 9: Desaturate, Focused Contrast and Increasing Shadow DetailVideo 10: The Painterly / Cartoon / Waxy LookVideo 11: Building Depth and DimensionVideo 12: Finishing Touches with Camera RAWNote:Not using Photoshop CC? Check out the Camera RAW video in the EXTRAS folder
