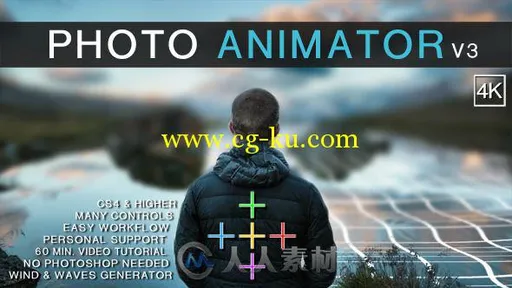
本AE模板是由Videohive机构出品的超唯美镜头景深特效动画AE模板V3版,Videohive Photo Animator V3 12972961,大小:510 MB,格式:AEP,分辨率:3840x2160,使用软件版本:After Effects CS4 - CC 2015。
AE模板是由After Effects软件生成的一种工程文件,能够渲染出美轮美奂的动画特效,文件中包括音乐、图片、视频、脚本等素材。
如打开模板时提示AE版本过低或AE缺少某插件等。
1.缺少插件更新相关插件并重启软件,AE插件下载点击这里
2.版本过低请更新AE版本至到其相应版本或大于模板的版本即可。
Videohive Photo Animator V3 12972961
As many of us often do, we get into the situation that we need to implement photos into a video (documentary, image film, reportage,... you name it) The easy way of doing this is to simply zoom into the photo or pan over it. If you want to give your photos more “life” you begin to draw masks and animate single parts of the picture to give the illusion of some camera movement. This can be very time consuming. So I started to build a tool wich helps me do this and cuts the time doing so tremendously. I have been using and improving it for half a year now and it has already saved me so much time. I figured it is ready for me to share it and make it available to you.
Version 3.0 relesed on December 1, 2015:
+Wind and Wave feature added (see above)
+added 16 min video tutorial for wind & waves
-Bug fix: unusual long render time on certain machines has been fixed
-Bug fix: Object parenting is now working with yellow crossair (move everything)
This is what you can do:
define a mask (often a simple & quick rough mask will work perfectly)
8 layers will be generated from this mask
define the layer size
you can pull the layers in two different ways at the same time: 1) The weighting is more defined at the outside layers 2) The weighting is more defined on the inside layers
push camera or object in & out (depending on how you draw/use mask)
Pull focus (between innermost and outermost layer)
define edge blur of layers (feathering)
Activate “Visual Help Mode” to make adjustments easily visible
two resolutions: 1920×1080, 3840×2160
I’ve found that randomly playing around with the options yields fun and crazy results, it’s really easy. There are many possibilities to animate your photos. Try it!
It is pretty easy to use, but there are some tricks i’ve figured out to get some cool results. So I have made a 25 minute tutorial to show you different kinds of approaches for different types of photos.
Please keep in mind that this is no “super magic tool”, and there will still be some kinds of photos which will work better then others. Especially photos with many things in the foreground and background are more difficult. But for most of the photos I have tried it on, it worked great.
If you have any wishes or ideas that you want me to implement, don’t hesitate to write me! I’m always happy to get some input and feedback. This will help me improve the tool!
What you get:
After Effects CS4 composition (Will work with CS4 and higher)
25min Tutorial
PDF document with the controls explained
视频预览:
http://yunpan.cn/c37HJ2zmeuU6B 访问密码 857e
或者

发布日期: 2015-12-21