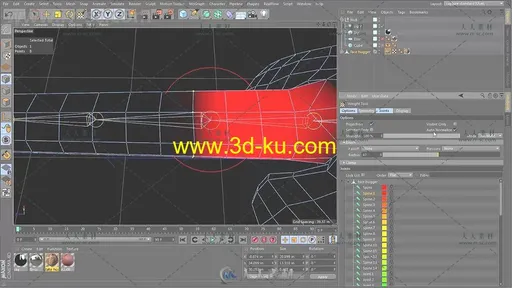
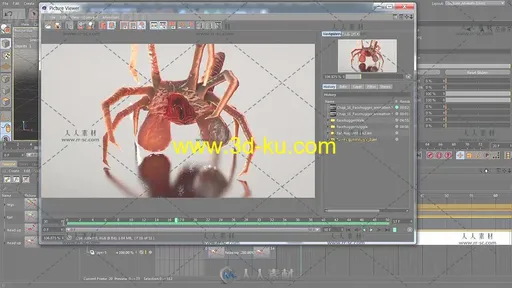
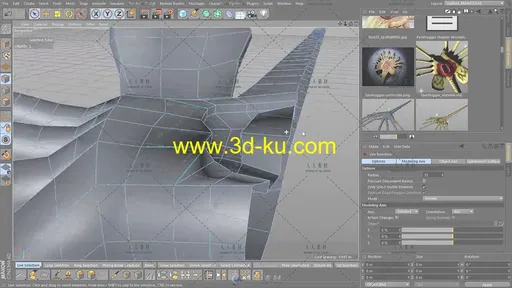
本视频教程是由Lynda机构出品的C4D异形抱脸虫建模动画完整实例制作视频教程,时长:6小时38分,大小:4 GB,MP4高清视频格式,附工程源文件,教程使用软件:CINEMA 4D,共18个章节,语言:英语。
Cinema 4D是一套由德国公司Maxon Computer开发的3D绘图软件,以及高的运算速度和强大的渲染插件著称。Cinema 4D 应用广泛,在广告、电影、工业设计、等方面都有出色的表现,例如影片《阿凡达》有花鸦三维影动研究室中国工作人员使用Cinema 4D制作了部分场景,在这样的大片中看到C4D的表现是很优秀的。在其他动画电影中也使用到C4D的有很多如《毁灭战士》(Doom)、《范海辛》〈Van Helsing〉、《蜘蛛侠》、以及动画片《极地特快》、《丛林总动员》(Open Season)等等。它正成为许多一流艺术家和电影公司的首选,Cinema 4D已经走向成熟,很多模块的功能在同类软件中是代表科技进步的成果。
cmiVFX机构是国际领先的高端特效教程提供者,网站以特效和三维技术为主,教程内容翔实而深刻,是少有的以深度而闻名的网站。而且教程的发散角度非常新颖,常常是技术弄潮人首选的新锐技术接受渠道。相对而言,其教程的价格也较高,不过由于其丰富的内容和实战的经验。
CMIVFX THE FACEHUGGER SERIES MODELING TEXTURING RIGGING AND ANIMATING
One of the more exciting sci-fi movie franchises to come around the last couple of decades has been the Alien series. A big part of that has been the care they put into the creature design. A favorite is the “Facehugger,” and in this series, Greg Kulz will walk you through modeling, texturing, rigging, and animating a Facehugger.
Chapters:01: Modeling Part A
In the first chapter we set up our modeling environment by placing our orthographic reference images into the background of our viewports. Next we start blocking out the basic shapes of the torso and legs using a variety of polygon modeling techniques.
02: Modeling Part B
Then we add a tail and start contouring the legs, making sure our edge loop placement is appropriate for skin deformations.
03: Modeling Part C
Now we are ready to start combining our different parts together. Using the Poly Pen and a few other tools we’ll prep the areas of geometry that are to be welded to insure a nice edge flow once it’s collapsed to a single object.
04: UV Mapping
Once we have half our model done, before we collapse the symmetry object we are going to start setting up our UV coordinates. We select our leg polygons and create an edge selection that will be UV seams. Now with the proper set up, open the UV peeler tool. adjust the sliders to your preference and BAM! Nice symmetrical UV islands. After collapsing our Symmetry tag, using a combination of selections and projections we layout a nicely packed page of UV islands.
05: Sculping Part A
With the sculpting layout open we hit subdivide a several times. We isolate the legs with mask and hide functions to maximize visibility system resources. We’ll explore different methods of using the stamp and brush tools. Then we isolate the torso and give it the same treatment.
06: Sculpting Part B
Next we isolate the tail and use a stencil to paint some wrinkles. then we’ll explore the knife tool to get some deeper details. Continuing with the knife tool on the torso, setting up steady stroke and pen FX to customize our brush style.
07: Sculpting Part C
Following our reference images we start blocking out the major surface details with the mask and pull brushes. then we set up some stamps to apply wrinkles and veins. And polish up our final details.
08: Materials Part A
Now that we have sculpted our hi-res mesh we are ready bake out our various maps. In the bake sculpt object manager we set up our settings and paths for the maps that we bake out. After some calculations (baking) we have a low poly mesh with a material containing the maps we just created. now we are ready to open the BodyPaint UV layout and start painting. then we start blocking in our color with various painting tools.
09: Materials Part B
Continuing painting, we explore the gradient tool, line tool and make a custom brush.
10: Materials Part C
Before we start building up our material, we’ll set up a simple rendering environment: floor plane, camera, lighting. Then we start fine tuning our luminance channel with a Sub Surface Scatter. The maps baked out from the sculpting process are put in their proper channels.
11: Rigging Part A
Now we are ready to make our creation move. First we start sketching out the bones with the joint creation tool. Making sure to precisely line up our bones with our mesh. We’ll apply IK tags on the legs and spline IK for the tail.
12: Rigging Part B
Continuing with our rigging process, we make sure all our bones have the proper name using the naming tool. Then we are ready for the bind process which gives us basic skin weighting. Using the paint weight tool and the weights manager we fine tune the influence each bone has on the mesh.
13: Posemorph Part A
Now using the sculpt tools we make several pose tweaks which create an animatable point morph tag. This will enable us to animate subtler movements not controlled by the bones (breathing, mouth movements, etc.)
14: Posemorph Part B
Here we set up a pose morph tag which will enable us to store poses of the entire character hierarchy. Then we create some individual poses as well as cyclical poses for easily making looped movements.
15: Still Render
In this chapter we set up our rendering settings, such as renderer, global illumination. then we go through a bunch of test renders using various light arraignments and material settings. Using the Picture Viewer we’ll compare renders side by side, as well as render times. Then we give it an extra kick with some filtering.
16: Selectors
Here we will explore the visual selector tag. We start by replacing the default human image with one of our modeling views. Then we go about painting and associating our newly made markers with the corresponding control nulls. Then we create a few selection objects to make certain group selections quicker.
17: Animation Part A
First we start blocking out a walk cycle by key-framing the controllers. Which we turn into a
链接:


发布日期: 2017-10-17