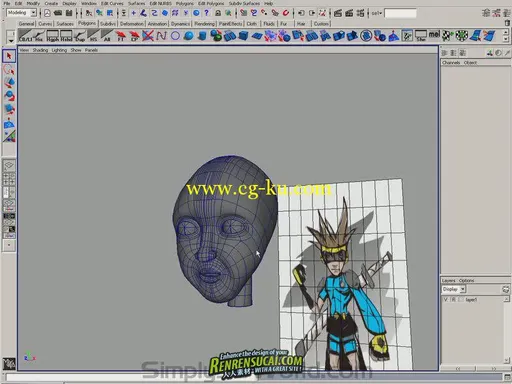
本教程是由SimplyMaya机构出品的Maya游戏角色人物制作流程教程,时长:8小时48分,教程使用软件:Maya,大小:1.4 GB,格式:AIV视频,语言:英语。
Maya 是目前世界上最为优秀的三维动画的制作软件之一,主要是为了影视应用而研发的,所以在出世后不久就在《精灵鼠小弟》、《恐龙》等这些大片中一展身手。除了影视方面的应用外Maya在三维动画制作,影视广告设计,多媒体制作甚至游戏制作领域都有很出色的表现。初识Maya 是目前世界上最为优秀的三维动画的制作软件之一,它是Alias|Wavefront公司在CG数据库1998年才推出的三维制作软件。虽然相对于其他老牌三维制作软件来说Maya还是一个新生儿,但Maya凭借其强大的功能,友好的用户界面和丰富的视觉效果,一经推出就引起了动画和影视界的广泛关注,成为顶级的三维动画制作软件
Simply Maya Anime Style Character
In this project we model based on only one concept sketch without using side and front image planes. It is quite common in a production environment that you are just given a concept sketch like this and expected to create a model based on that so learning the free form modeling techniques explained in this tutorial is something that can become very useful during your future CG career.
We follow a NURBS, polygon & subdivision workflow to create our anime character and start off with sculpting on NURBS primitives and you’ll get familiar modeling with CV’s, hulls and inserting isoparms. The base geometry is converted to polygons to add the detailed features and characteristics of the stylized model. We join up some parts of the geometry through combining and merging and some through booleans union where we go over some of the potential problems that might arise when you use these types of booleans operations in Maya.
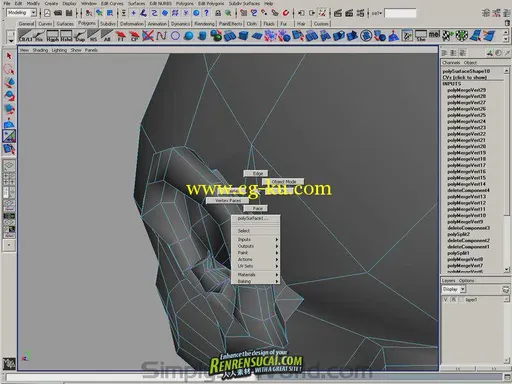
Working with the split polygon and cut face tools we create a quaded mesh and get a good edge flow. We also take into consideration how geometry deforms and look at functionality to make a character suitable for rigging and animation later down cg-ku.com the pipeline. To get hands and shoes we use simple box modeling techniques with polygon cubes pushing and pulling vertices, and work with the sculpt geometry tool to smooth out the mesh.
For the fine detail and natural folds on the face, body and hands we convert to sub d’s and make the cool looking spiky hair, as well we create a complete set of clothing for our character. The modeling section of this tutorial is wrapped up with creating glasses and a sword using NURBS.
In the UV texture editor we then lay out UV’s for the model before we create stylized cartoon textures in Photoshop. We also look at how to create bump and spec maps to bring out that little extra and get control of specular highlights in our final renders.
115网盘永久+迅雷离线地址:
http://kuai.xunlei.com/d/UVTDYXGGQBVB
http://kuai.xunlei.com/d/UXEUCXRHXGKF
或者
[thunder]Thunder://QUFmdHA6Ly9ycnNjOnJyc2NAMTIyLjE1OS4zNi4zL6G2TWF5YdPOz7e9x8mryMvO79bG1/fB97PMvcyzzKG3cnItc2MuY29tyMvIy8vYssQucGFydDEucmFyClpa[/thunder]
[thunder]Thunder://QUFmdHA6Ly9ycnNjOnJyc2NAMTIyLjE1OS4zNi4zL6G2TWF5YdPOz7e9x8mryMvO79bG1/fB97PMvcyzzKG3cnItc2MuY29tyMvIy8vYssQucGFydDIucmFyClpa[/thunder]


发布日期: 2012-4-13