由Digital Tutors 机构最新出品的Digital Tutors 3D Pan and Tile Sky Replacement in NUKE 教程,Nuke背景合成教程。3D平移和瓷砖天空更换教程.教程所使用的软件:NUKE v6.2
Nuke:NUKE是一个获得学院奖(Academy Award)的数码合成软件。已经经过10年的历练,为艺术家们提供了创造具有高质素的相片效果的图像的方法。NUKE无需专门的硬件平台,但却能为艺术家提供组合和操作扫描的照片,视频板以及计算机生成的图像的灵活、有效、节约和全功能的工具。在数码领域,NUKE已被用于近百部影片和数以百计的商业和音乐电视,NUKE具有先进的将最终视觉效果与电影电视的其余部分无缝结合的能力,无论所需应用的视觉效果是什么风格或者有多复杂。
DigitalTutors.com : 3D Pan and Tile Sky Replacement in NUKEEnglish | 91mins | flv 1095kbps | 1280x720 15fps | mp3 96kbps | 515MbGenre: VideoTraining
In this course we’ll learn how to create a 3d sky using a pan and tile technique in NUKE. By stitching together multiple photographs, we will be able to create a fake sky background for our composite.
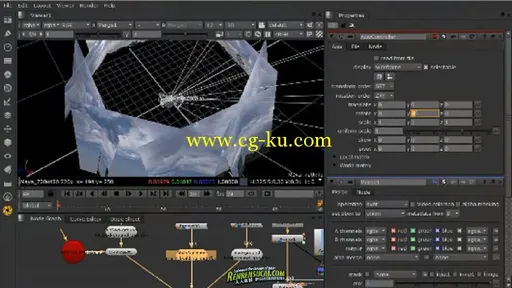
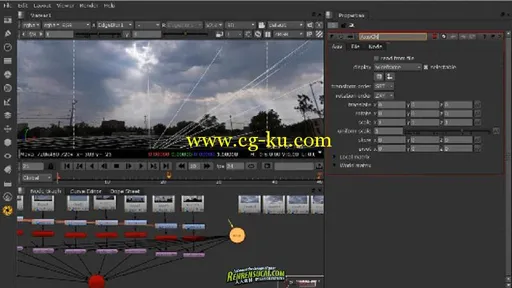
We’ll begin this project by learning about the card node in NUKE, and setting up the card to correctly have lens distortion, fit our lens, and set-up the initial node networks for faster duplication. We’ll then connect the rest of our sky cards and use some math to make a rough placement. From there, we will refine the rotations and placement to hide as much of the seams as possible. We’ll then tie all the cards together into an axis so we can control the entire sky using a single transform. After that, we’ll match our sun placement, color correct our sky and render it separately to use z-blending to hide our seams. Finally, we’ll learn how to fix issues with our tiles using NUKE and Photoshop, then do a few final compositing tricks and render our sky sequence.
教程相关内容如下:
14 videos in this course
1. Introduction and project overview
2. Setting up the initial card and organizing our scene
3. Creating a color correction and transformation pipeline early
4. Matching the transformation from one card to the next
5. Continuing card transformations
6. Fixing rotation issues with a few of our tiles
7. Creating an axis controller for our entire sky
8. Blending edges using the ScanlineRender Z-blend properties
9. Rotating our sky to match the Sun placement
10. Color correcting our entire sky to match the scene
11. Fixing small issues in NUKE with the RotoPaint node
12. Fixing small issues in Photoshop with Content-Aware Healing
13. Filling a hole in the sky with a separate sky section
14. Lightwrapping and merging our sky render with our foreground
【
发布日期: 2011-8-14