Duration 6+ h MP4
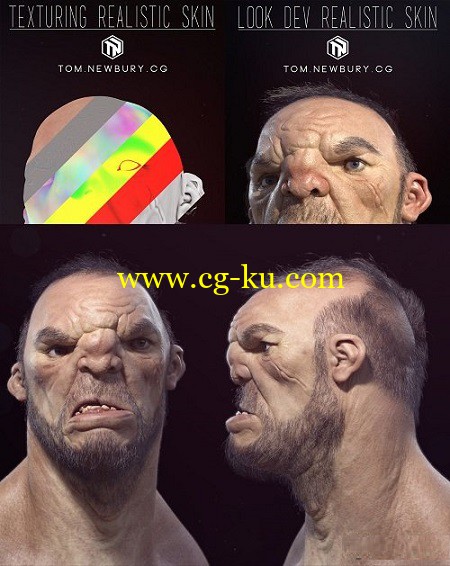
Title: Gumroad – Texturing Realistic Skin for Characters by Tom Newburry
Info:
This is the first of 2 tutorials where I go through my process of creating realistic skin for characters.
In this tutorial I will be taking advantage of the fantastic resource, texturing xyz. Here is a link to the website: http://texturing.xyz/
I go through the entire process of using these textures, starting with combining the separate levels of detail into a usable rgb map. I do this in both Photoshop and nuke. I then launch into Mari where I give a quick into to the software and then we begin with projecting on the diffuse maps and then the displacement maps.
I also provide a couple of side tutorials which go through my process of creating tile-able textures in photoshop as well as my process of taking the finished displacement maps back into zbrush where we can continue adding details and irregularities.
This is a step by step tutorial separated out into 20 chapters. I don’t skip any parts of the process and I don’t use time lapses at any point.
The software used in this tutorial is:
Mari
Zbrush
Photoshop
Even if you are using a different software such as mudbox for texturing, the methods I use in this tutorial should translate over to those packages.
持续时间6 h + MP4
标题:gumroad求实,texturing皮肤的人物汤姆newburry村
主要材质:
这是第一部在2 tutorials罗通我的过程中创造的人物求实的皮肤。
在这tutorial将以《神奇的资源优势,texturing XYZ。这里是一个链接到的网站:http:/ / / texturing.xyz
在长期的全过程,通过利用这些textures启动的配合比例,与《独立学院为A级的细节usable RGB图。在做这在维持和nuke Photoshop。在当时的发射到玛丽在那里为提供一个快速的软件,然后我们开始与projecting在漫才位移的地图的地图。
偶在大学也提供一tutorials侧通”去创造我的过程中,可以textures瓷砖-进入Photoshop作为阱作为我的过程中以“反向位移映射到成品,我们可以继续在ZBrush的细节和irregularities增。
这是一个一步的时间为20 tutorial分隔的文本。在不要跳过任何一方的过程和在不使用时lapses实习生的任何点。
该软件用于这tutorial冰:
玛丽
ZBrush的
Photoshop
甚至如果你是使用不同的软件如texturing Mudbox的方法,在这方法中使用translate到tutorial应该过的那些包。