Digital Tutors Advanced Production Techniques in 3DEqualizer and NUKE | 810 MB
在本教程中,我们将学习如何使用3DEqualizer和NUKE一起在专业工作流程进行生产。
纵观这些教训,我们将看看3DEqualizer的更先进的功能,以及如何利用它们与NUKE在一个非常有效的方法。
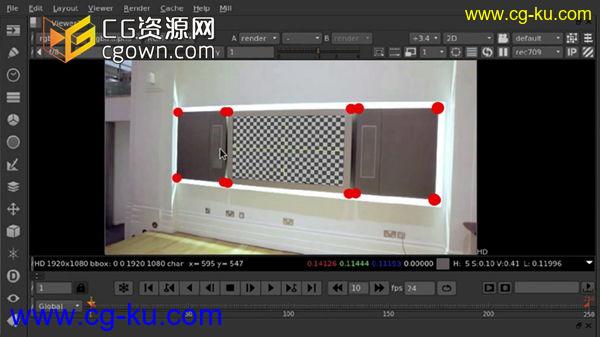
我们将通过创建一个3D屏幕更换开始,然后再利用3DEqualizer资产,以稳定摇摇欲坠的镜头。
In this tutorial we’ll learn how to use 3DEqualizer and NUKE together in a professional workflow for production.
Throughout these lessons we’ll look at the more advanced features of 3DEqualizer and how to utilize them with NUKE in a really effective way.
We’ll start by creating a 3D screen replacement, and then further utilize 3DEqualizer assets to stabilize shaky footage.
Finally, we’ll dive into correcting for rolling shutter artifacts.
By the end of this course, you will be well-equipped to handle a 3DEqualizer to NUKE workflow effectively.
内容包括:
Introduction and project overview 00:53
Tracking footage for screen replacement 03:13
Solving the camera and aligning the screen 12:38
Assembling our 3DEqualizer assets in NUKE 12:32
Finishing the 3D screen replacement 05:58
Tracking and solving for camera stabilization 06:23
Assembling our stabilization script in NUKE 06:25
Performing the stabilization 04:50
Introduction to rolling shutter 04:38
Calculating for rolling shutter in 3DEqualizer 06:44
Assembling our rolling shutter script in NUKE 04:31
Assembling our rolling shutter corrected footage 08:35

发布日期: 2014-7-17